

what I learned about splicing batting
A few years ago, there were so many shortages…yeast, masks, the ubiquitous TP… and batting!
Well, not really a world-wide shortage, but occasionally I have a shortage in my studio. So, I’ve been trying to use it super efficiently.
Next I whipped out my trusty needle and thread. My mother would be horrified to know I used one looooong thread. One of her maxims was: long thread, lazy girl. Of course, she said it in German, and then it rhymed properly. But I digress again.
Back to batting. I want to give you a glimpse into how I used to splice batting (but be sure to read the end to see how I do it now). I expect there are a number of ways to attach remnants to each other, but I want to share a story about when I had no special products on hand, so I was limited to a needle and thread.

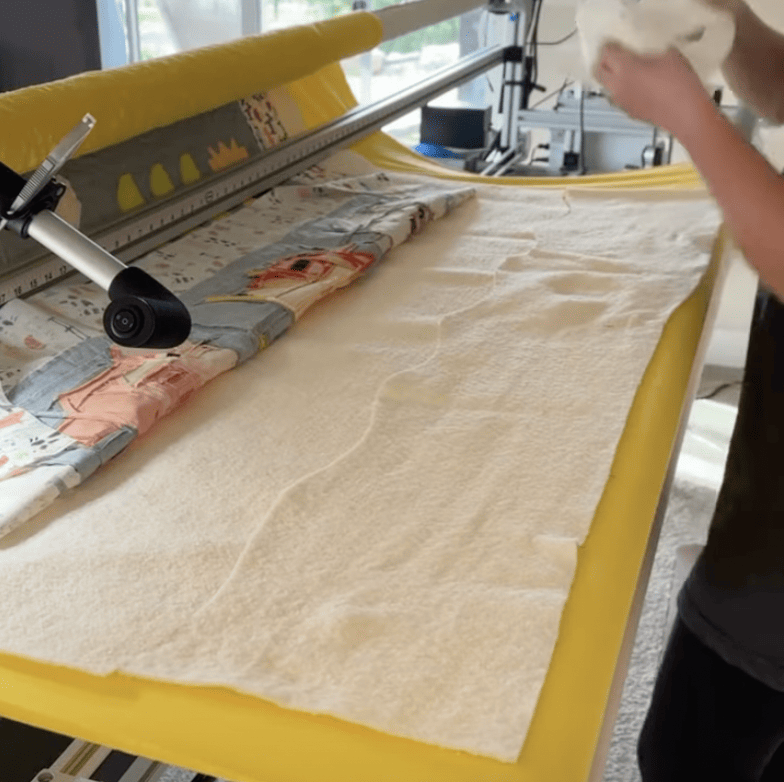
To begin with, I laid the added piece of batting over top of the existing one; overlapping by about 3 inches. Then I fearlessly took up my scissors and cut a wavy line through both layers. A straight line, I thought, would be visible through the quilt top as it might form a fold, or a wrinkle. Hence, the wave. I pulled out the thin cut-off pieces, leaving the scallop with the edges just touching.
Long, 1″ simple whip stitching, and presto, my batting was spliced, and ready to quilt.

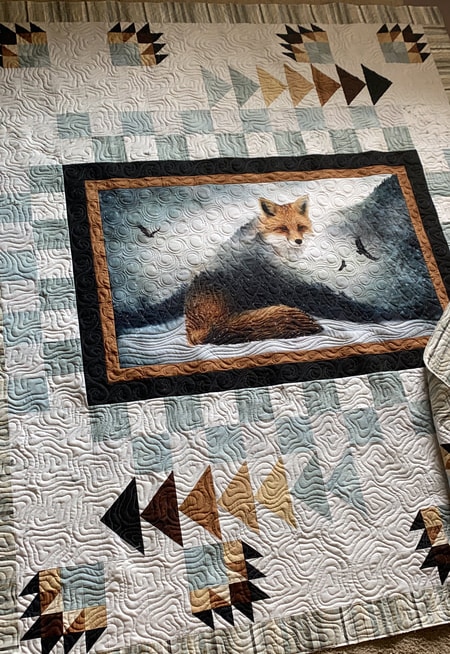
My conclusion: it takes a few minutes to do the stitching, but it’s far easier than wrangling two pieces at the sewing machine, and the result was all I’d hoped for. Once it was quilted, even knowing where it was, I could not feel the splice.
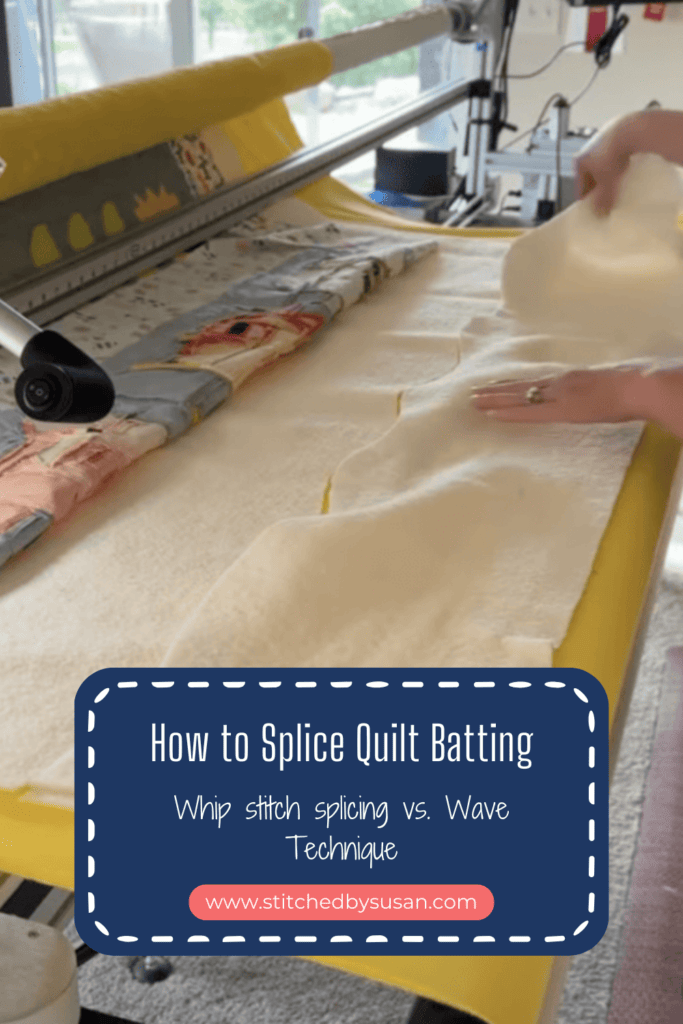
After doing this many, many, times, I experimented further, and realized I don’t even need to bother with the needle and thread, but just nestle the two wavy edges together and quilt. If I’m careful not to stretch and pull any part of the quilt sandwich, it all stays in place until I finish quilting. You don’t feel the splice at all…the wavy lines mean you don’t see it at all, and it works beautifully. Check out the video below to SEE this in action.
NOTE: It is important that the quilting be close enough to firmly anchor those edges – perhaps 1″ to 1 1/2″ spacing. With that amount of quilting you don’t have to worry that the edges will come apart during use and washings.
If you have any questions or comments, do visit me on Facebook @stitchedbysusan or Instagram @stitchedbysusan
Don’t miss the video here!


Comments +