

Can freehand quilting IMPROVE a quilt? Absolutely, yes!
Of course, you know my answer, HECK YEAH!
But just in case you don’t believe me, I’ve got a great example for you.
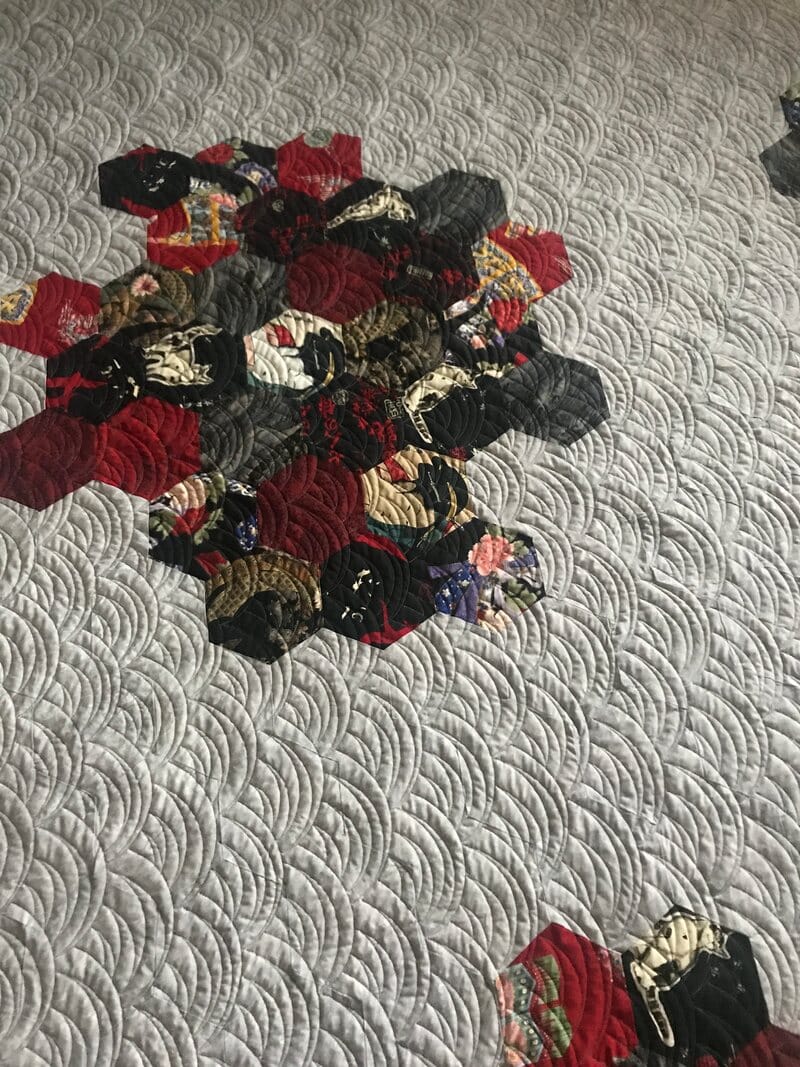
I get to provide quilting services for clients of all skill levels, from beginner to ace. The most rewarding comment I ever receive is, “You made my quilt look so good!” I don’t want to be critical, at all, of anyone’s piecing skills. I’m just thrilled people are making quilts! But, it’s part of who I am to be particular, so I really work hard at elevating the overall look of any quilt that comes across my longarm rails. That might be squaring up one that’s a smidge wonky … adding great texture to one that looks a bit 2-dimensional … perhaps even disguising a problem area. Take this ladybug quilt as an example.
the seam/fabric/bias challenges
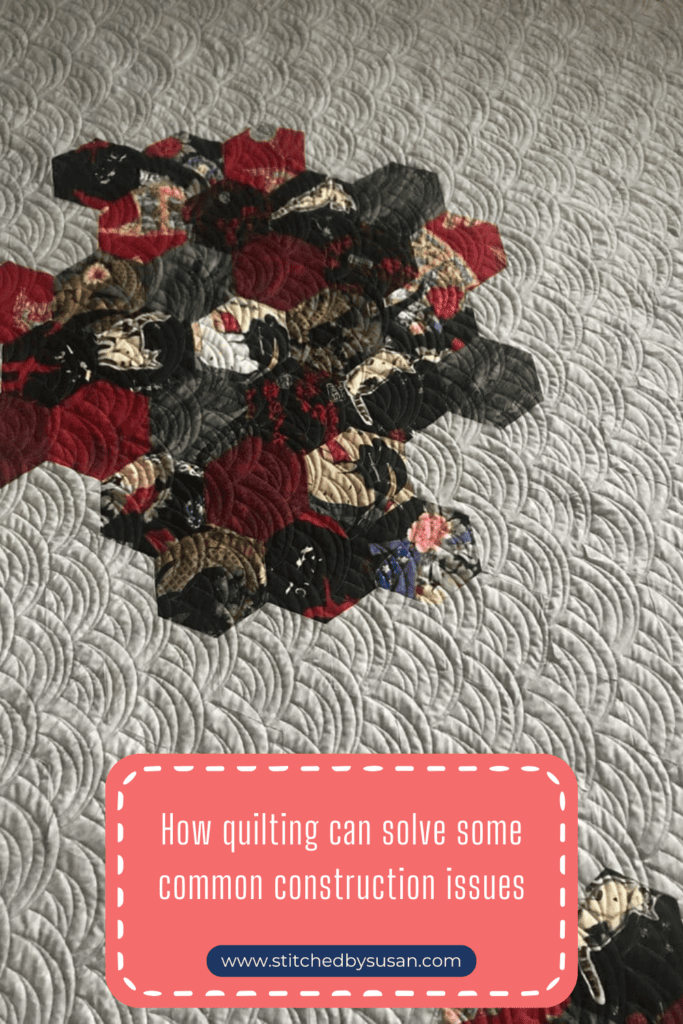
This particular quilt was a challenge, I know, for the maker. It is made entirely of hexagons with Y-seams! Hats off to her – that is no small feat.
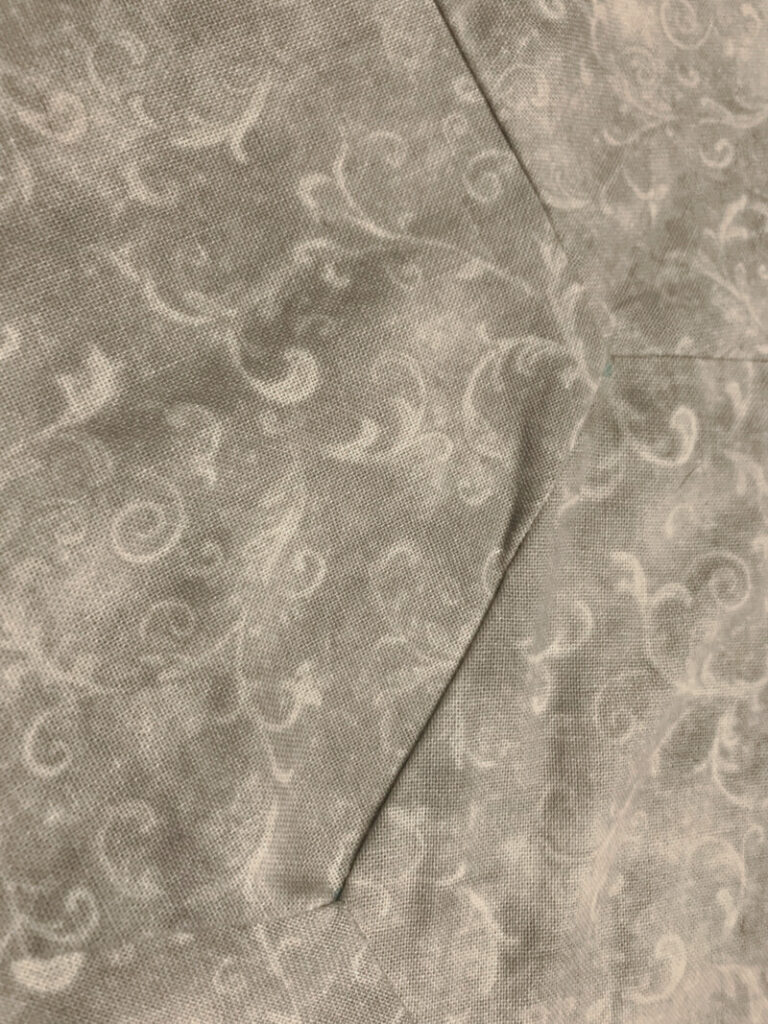
And herein lies the challenge. The seam allowances are difficult to press to the side OR open, so they twist and turn a bit, making the corners lay not-so-flat. Here’s a close-up look at one of them.
the freehand solution to un-flat seams

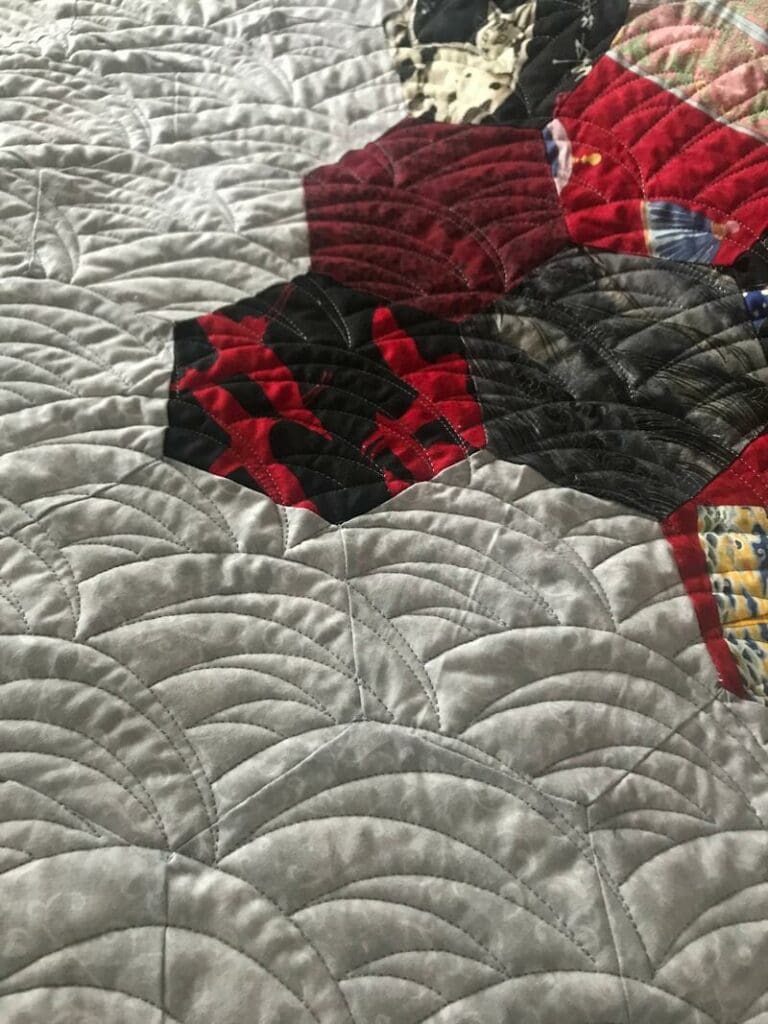
And now the magic. This is the same corner quilted (later in the day so with vastly different lighting).
The solution is fairly simple – stitch those seam allowances flat! And this is where freehand is so very helpful. I can fudge exactly where the stitching lines fall. You can see I’ve stitched right over the Y-seam, and caused it to lay down much more smoothly.
the overall freehand quilting win
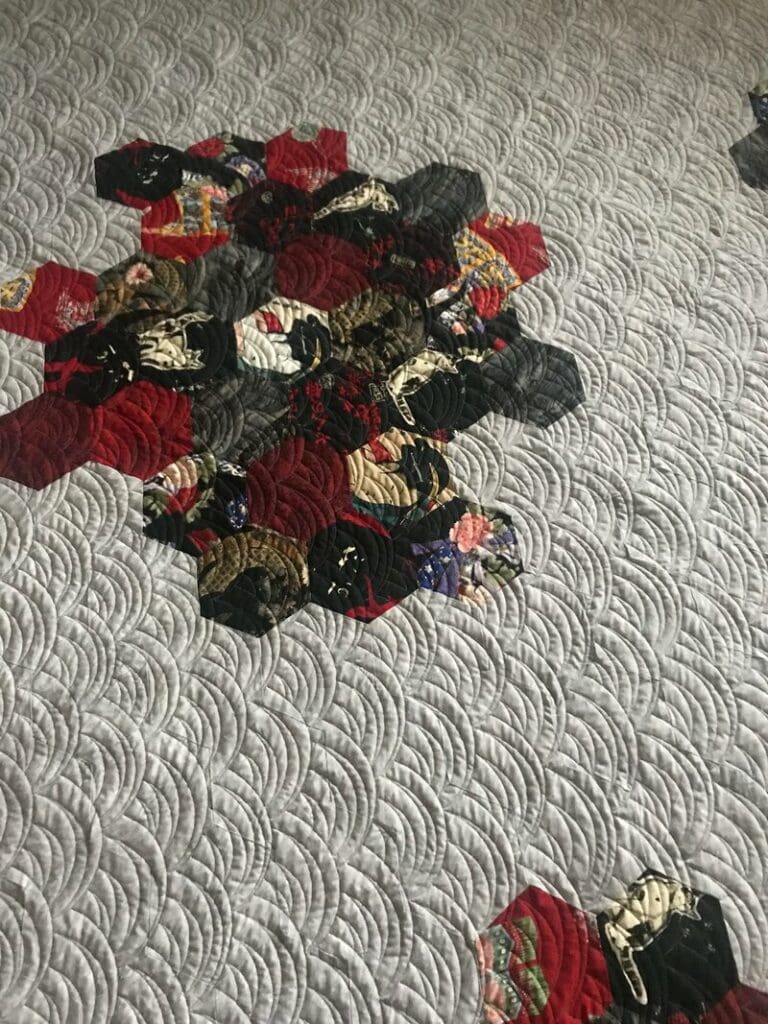
You can get the full picture of the texture created with the fans. Viewed across the entire quilt, they look uniform in size and shape, but I actually did quite a bit of nudging of the quilting lines, so they lay just where I wanted them – right across many of the seam intersections. Presto! A much flatter looking quilt overall.
By the way, I don’t mean to be disparaging of digital designs. They have their advantages too. But this is one of the reasons I so much love freehand quilting. It gives me the ability to add that personal touch to make a quilt the best it can be.
binding is the final touch
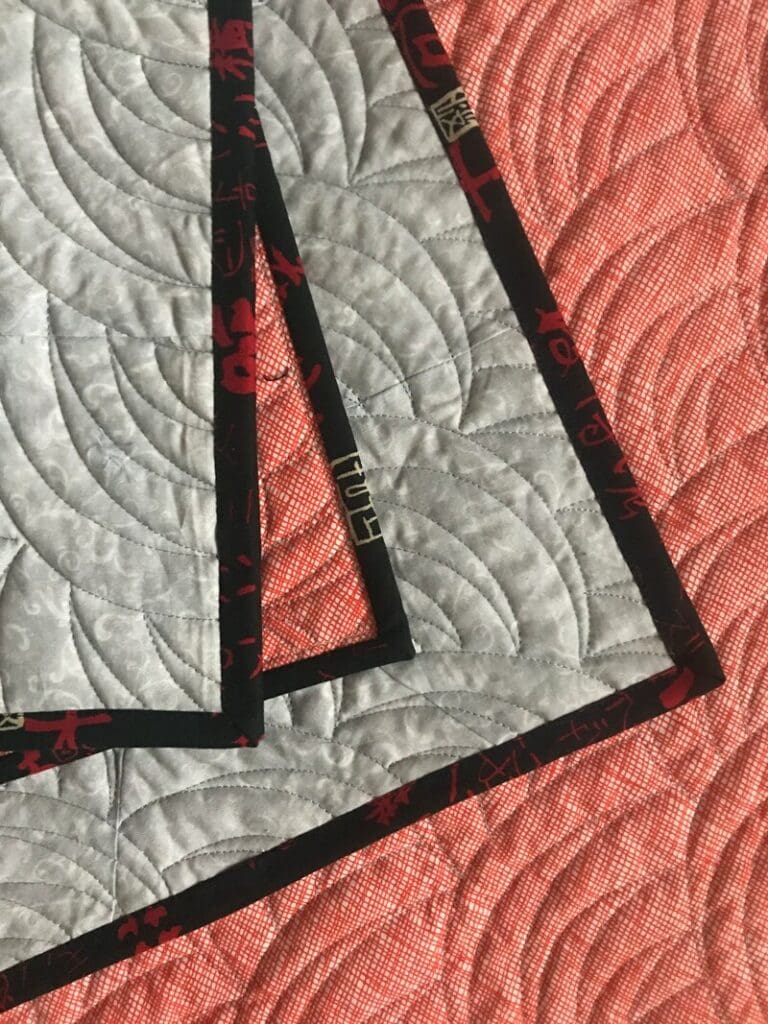
The binding doesn’t really bear out my point (wink, wink), but I just had to show you the finished quilt!
I applied this binding with my preferred 100% machine method – first I stitched the binding on the back, then folded it around and top-stitched from the front. You can see in the photo that the line of top-stitching is visible just inside the binding on the back, so I chose bobbin thread to match the backing.
want to try machine binding?
If you’d like to give machine binding a try, here’s a link to a YouTube episode where I show my method from beginning to end, with lots of little tips throughout for accuracy and ease. Let me know if you give it a try, and what you found most helpful!


Comments +