spa day … aka regular maintenance for your sewing machine
tlc for your sewing machine
It’s spa day in the studio! Every machine needs a little TLC now and then. The good news is: it’s easy. The great news is: that little bit of TLC will go a long way toward saving you costly servicing and repairs.
My trusty Babylock Symphony is 10 years old. I have put MILES and MILES on her, and I’ve had servicing done….drum roll please…2 times only!
Early on, I asked the gentleman at my local sewing machine repair shop about the problems he saw most often. I kind of expected to hear “the timing” or “lack of oil”, but no – he said the #1 issue he sees is LINT. As a matter of fact he had recently worked on a machine that had so much compacted lint, it was a solid mass, and was preventing the bobbin casing from turning freely! So his word of wisdom was to clean, and clean frequently, and thus avoid all kinds of trouble down the road.
I took his words to heart, but of course it’s just so easy to get all involved in a project, and sew just one more seam, right?
built-in reminder system
So here’s my best self-help tip – create a built in reminder system.
I do it this way. I pre-load 6 bobbins of my favorite neutral color. When I’ve used up those bobbins, I STOP SEWING.
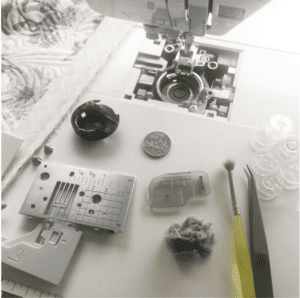
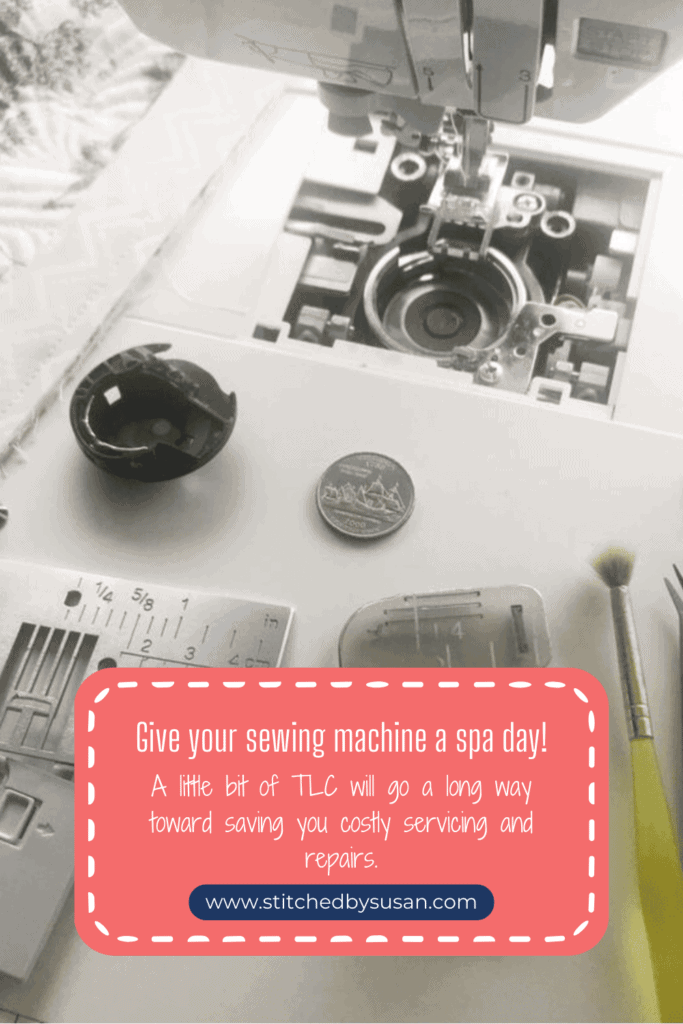
I spend about 5 minutes giving my machine a little spa treatment. Below you see all my favorite tools laid out. Scalpel! Sutures! If only I had an assistant to do my bidding…ah well.
the simple cleaning tools
To give YOUR machine the spa treatment, you need just a couple of things , most of which you likely have in your home already.
- paint brush (the fuzzier and more worn out the better, so rob your kids’ stash)
- tweezers; if you have or can find the type with an angled tip, they’re handy
- a dime
- overachievers might want a small vacuum with a tiny wand attachment
First, turn off the power to your machine. Let’s not be sewing over our fingers here.
Then remove the throat plate. The dime works better for this than any short handled screwdriver I’ve ever met. Your machine may have come with a round, quarter-sized tool for this purpose, but if you can’t find it or lose it, change works!
Next, lift out the bobbin case.
Now use the brush to get in all the nooks and crannies you can reach (including the bobbin case itself), and swirl up all the dust bunnies. Many will cling to the brush, but use the tweezers as needed to lift them out. If you have the vac attachment, it might accomplish all of this for you, but I don’t have one, and I’m living proof you can survive without it.
NOTE: Do not use canned air, or a compressor, or any device that will blow the lint INTO the machine innards.
Lastly, fit the bobbin case back in place, screw the throat plate on, and load with a fresh bobbin. You’re all set!
don’t forget to make friends with your manual
Find out your machine’s oiling requirements. Apply a drop or two as directed. Also, check if your machine enables you to take off the cover of the sewing bed behind the bobbin area. If you’re able to vacuum or apply a brush there, it’s one more battle won in the war against lint.
a surprise tip
Now for the unexpected tip. I love this one! It came from the gentleman who recently serviced my Singer 301 – in exchange for quilting, I might add. I love a good barter.
This is especially for machines that are stored for periods of time, like perhaps the Featherweight you take to retreats, or occasional sew days with friends. Here’s the thing – the presser foot is loaded on a spring. When the foot lever is up, that spring is continually compressed, and over time metal fatigue will cause it to lose its “spring”. In fact, even when you lower the presser foot, there is still some amount of compression. So…the tip is….take OFF the presser foot entirely, lower the lever, and presto! All the compression is released from the spring, and it can rest happily until you’re ready to sew with that machine again. My personal tip: be sure you put that foot in a place you’ll remember!
- I may receive a commission on some of these products linked above, at no additional cost to you. I only recommend items I know and love.



Comments +