quilting for the guys in your life
This week I had the opportunity to stretch my creative wings a little bit. A client brought a quilt based on a Hoffman panel with these requests:
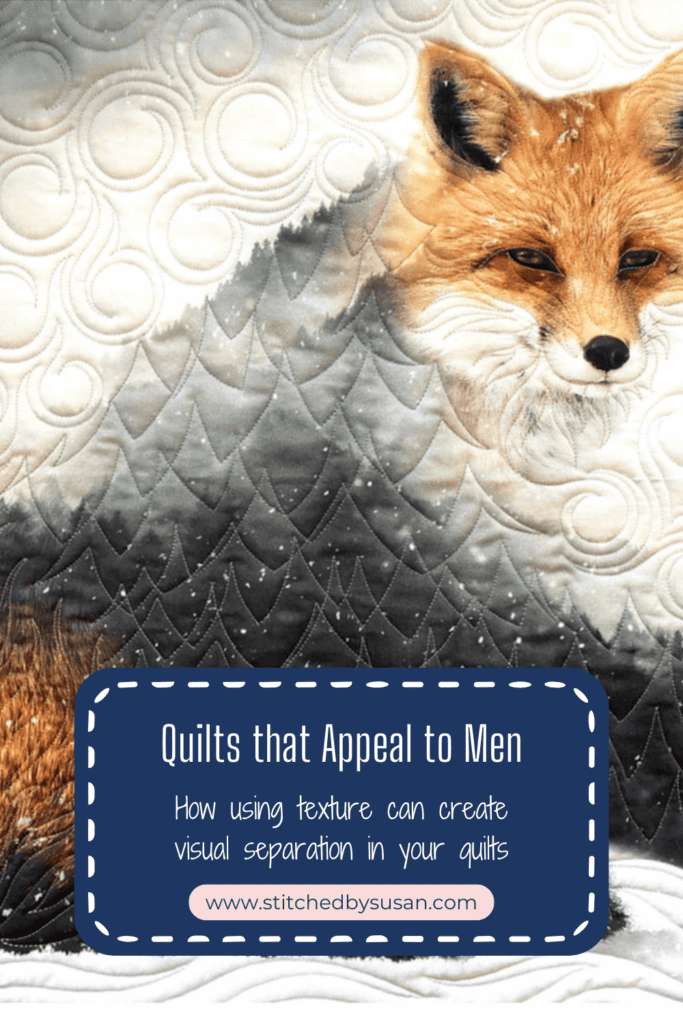
- make the foxy “picture” the focus
- play up the fox/trees/sky by using different textures
- keep the quilt masculine since it’s intended for a college-age guy
The panel can be purchased here.
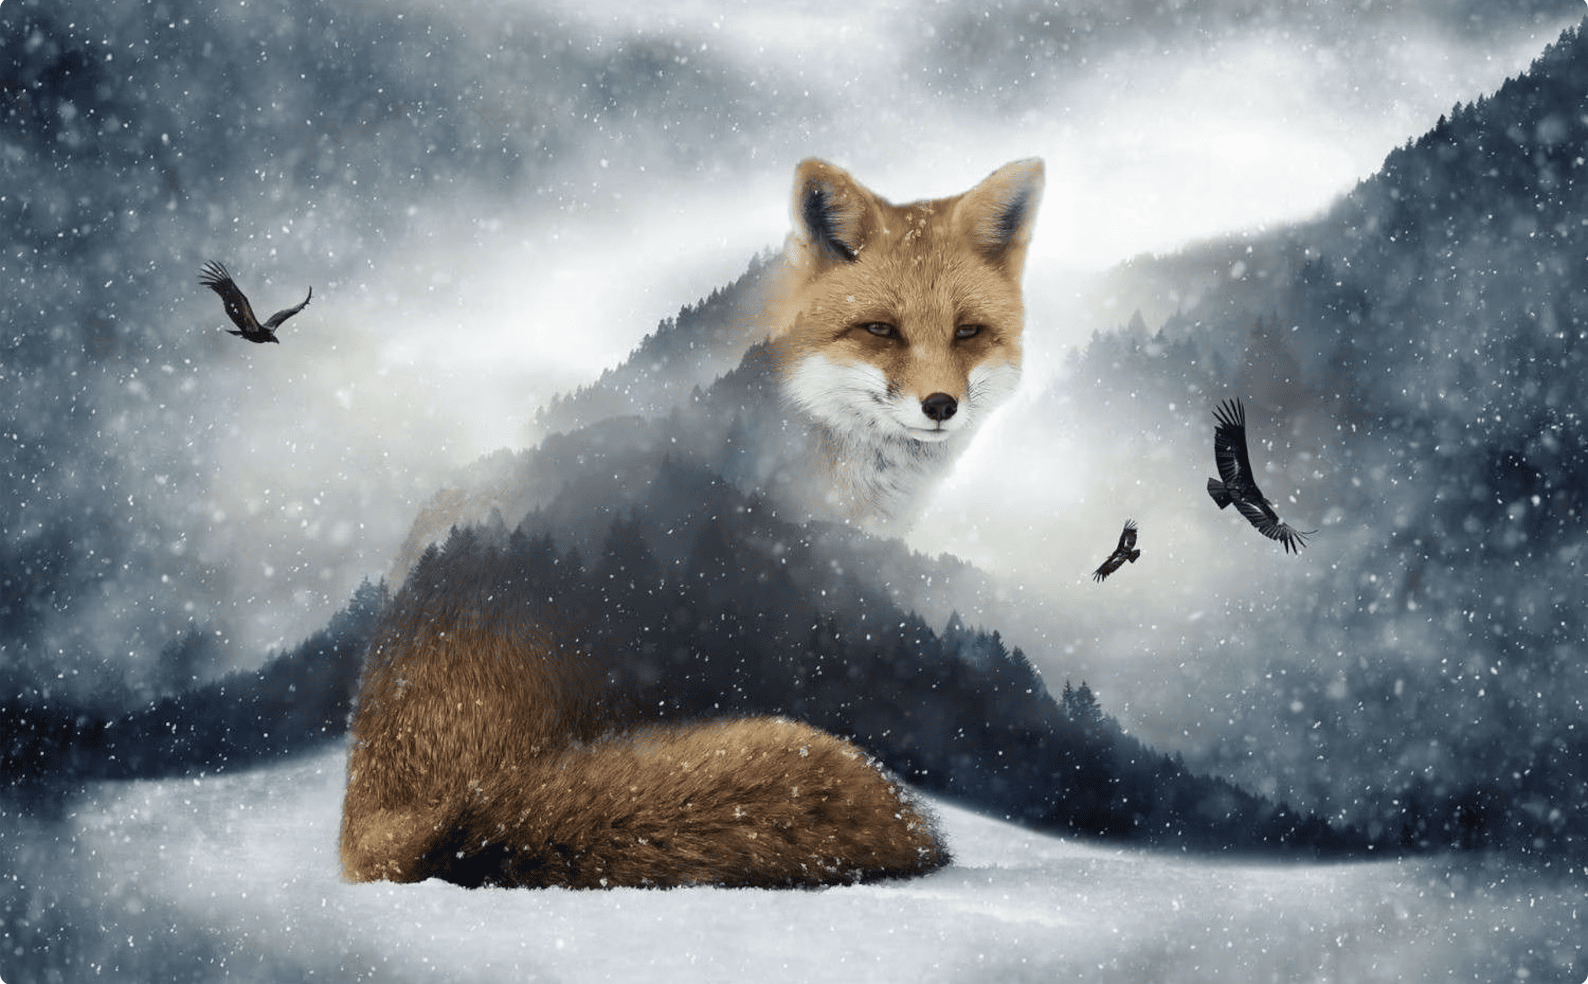
Of course I didn’t get a photo BEFORE I started quilting! But I thought you might like to see how it came together, and my step by step thought process. I know panel-based projects can sometimes stump us, so hopefully this will give you some creative ideas.
using texture to create visual separation
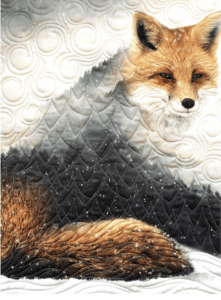
The first step was to envision what textures might be used to highlight the different areas of the fox. I wanted them to be distinct enough to separate the fur from the trees from the sky.
Here’s a close-up look at 3 of the textures.
- fur = s-curves
- trees = really simple trees shapes, overlapping to create depth
- sky = windy swirls (at least I hope they look like windy swirls)
And here’s a close look at one more texture:
- snow = long s-curves to look like wind-swept slopes

background
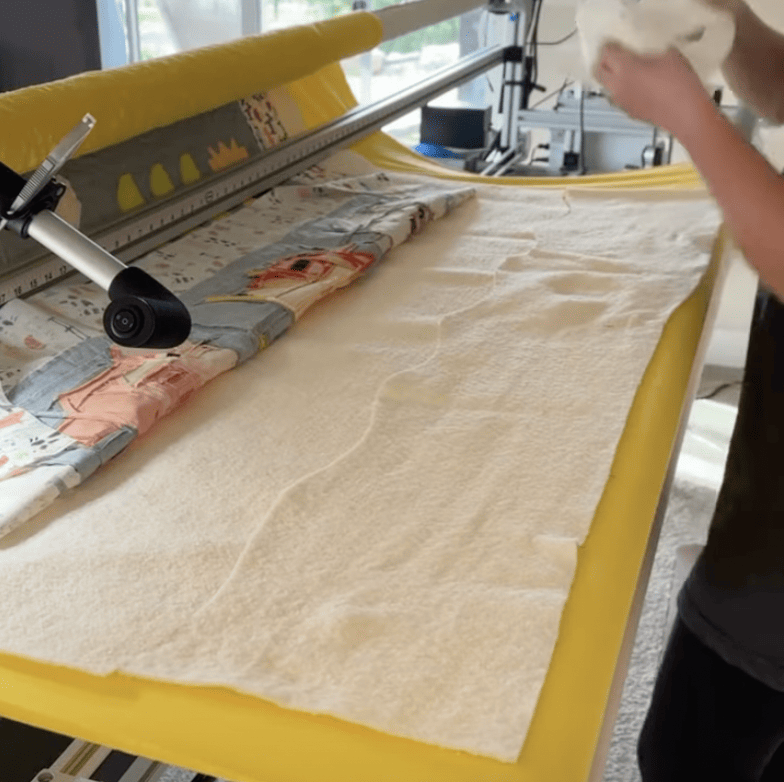
And finally, I wanted a background for the rest of the quilt that would play a supporting role to the framed fox. I experimented on my trusty acrylic sheet (with dry erase markers) with swirls….loops….and settled on this topographical map-like meander. I thought it fit the “masculine” brief well, plus it’s outdoorsy, so it fits the quilt theme super well.
Here’s a straight-on look at the meander. It’s basically constructed like a knobby swirl – round and round to the inside, pivot, and then between the first swirls all the way out. I practiced this on my acrylic sheet first, to work out the quilting path, and also the scale or size I felt looked best.
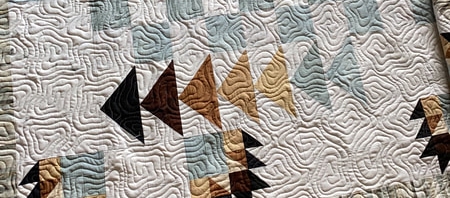
My goal, remember, was for this to remain a background for the focal framed picture. I think the subtle meandering swirl worked well.
Here’s one more look at the topographical meander on the backing.
choosing thread colors
My thread choices were pretty simple – just 3.
- light copper in the furry areas, and copper frame
- mid/dark charcoal for the trees, and the dark frame
- silvery gray for all the rest
My personal favorite is Isacord 100% poly thread. I choose to wind my own bobbins as well, and for this quilt I used the silvery gray only. If I had found that thread color was showing through, I would have changed bobbin threads to match top threads, but it all behaved very nicely using the same bobbin color throughout.
the finished quilt
Here’s the one (poor) photo I have of as much of the quilt as I can lay out flat on my studio floor. You’re able to get a sense of the scale of the panel, and how the rest of the quilt becomes a supporting actor.
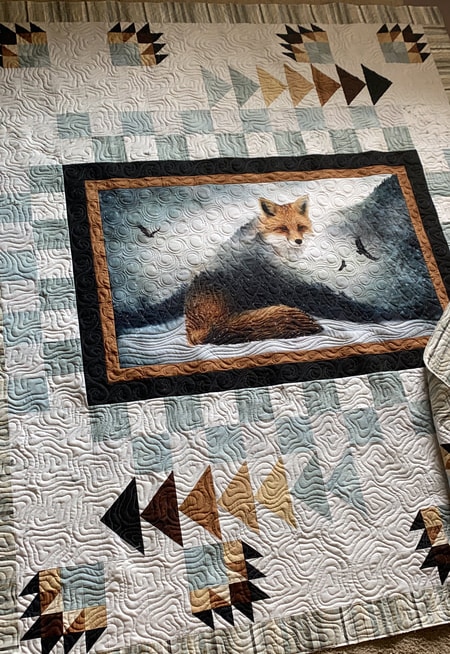
This project was for a client. She used this, and fabrics from her stash. The design was her own, and I think she used the Flying Geese and Bear Paw blocks to really good effect, and the simple checkerboard placement is perfect too. The layout is a little bit contemporary; just enough to add interest. Job well done!



Comments +