


Today’s quilting is a journey we take together in a live and unscripted session. Yes, you heard it right—this entire YouTube session happened in real time, and remains un-edited, so you get to see ALL the details. In this post, I’ll highlight just a few of them.
Designing or Planning Custom Quilting
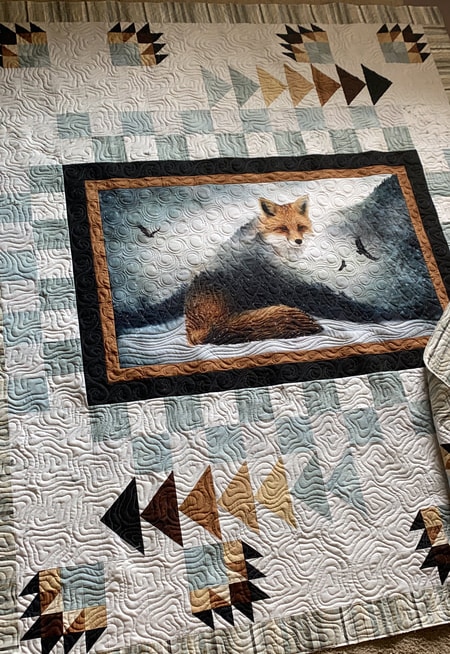
In this session, I’m working on a custom project for a wonderful client named Connie. She’s been kind enough to let me share her quilt with you, wool applique, beads and all! There were certainly some intricacies in quilting around embellishments, and we discuss the importance of personal choice and client budget when creating custom quilting designs. It seems like in recent years meandering or stippling has been less popular, but Connie (and I!) feel that it’s a great textural background, so she requested it.

For me at least, the designing or planning process is seldom linear. I have an idea…I draw it out on my plexiglass board, or perhaps quilt it…and if it’s not quite right, the plan shifts. And it often evolves as I work. Maybe the quilt speaks to me 🤷♀️ I don’t know, but I seldom fully map out the quilting plan before I begin.
Today’s project was no exception. Connie had asked for the stipple background, I had a border idea, and I knew I was outlining all the wool applique.
I’ve learned from experience that it’s wise to fully quilt one block before, say, marking all of them on the entire quilt. Or quilting all of one thread color. So that’s what I did here, quilted the border AND the applique outline AND the fill, so I could fully see a completed block and decide if I was happy with it.
When I quilted the first ivory/tan border, I had fewer swirls. It just looked skimpy. Blech. So that first border got picked out, and I added in one more swirl on each side. Much better! The rest of the block I was happy with, so then I was ready to get into production mode.
Anchoring the Quilt for Stability

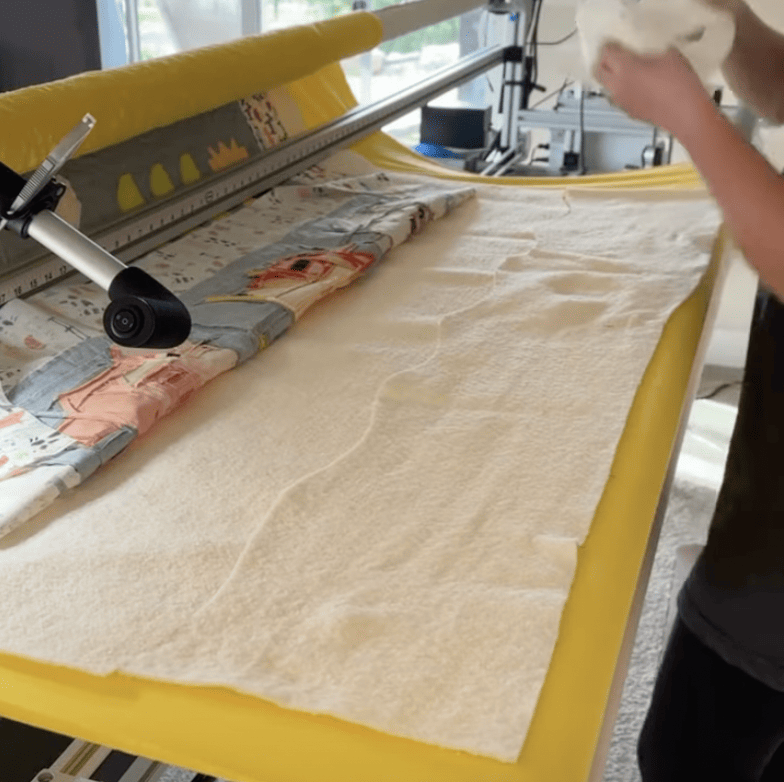
Let’s talk about anchoring. This is essentially a shortcut, taking the place of basting throughout the quilt. To be clear, I still baste the outer perimeter with every advance. But on a quilt like this one, laid out in rows and blocks, it makes sense to stabilize the blocks one row at a time.
I stitched in the ditch around the ivory and tan section, and went ahead and quilted the decorative border as well without breaking thread.
Then I was able to advance the quilt, and repeat that stabilization for each row, all the way to the bottom of the quilt. There was no need for additional interior basting, saving time doing it, and then un-picking it as quilting details are added.
If the intent is to roll the quilt back and forth to complete the custom quilting, then stabilizing sections before diving into detailed quilting is crucial. If, as in this project, you can choose some initial small level of quilting that will hold everything in place…that’s a time save.
Design Choices: Echoing and Efficiency
One big takeaway from today is the idea of a design that LOOKS like an echoed outline, but isn’t. In custom quilting, it’s a high-end strategy to add another outline alongside stitching in the ditch. This acts as a frame separate and accentuate two different types of quilting, and looks much better that letting those two designs butt up against each other.
BUT. That takes time! The swirly border design I used on this project is from Sue Heinz’ book “Elemental Designs”. I love it so much because it adds a “faux” echoed outline. So with just one pass of stitching, you get the lovely border design AND that separation from the background stippling.
Marking tip: I used a Sharpie to mark spacing directly onto my ruler for these swirls, because they weren’t spaced at a nice, even number. This was I only had to calculate it once, and then I could quickly copy that spacing with a fabric-safe marker onto the quilt. No thinking…no mistakes…genius! The Sharpie is easily removed from the ruler with an alcohol wipe once the project is complete.
Watch the full episode to see these concepts at work, plus more discussion about thread changes, stops and starts, and much Thanks for joining me!


Comments +