

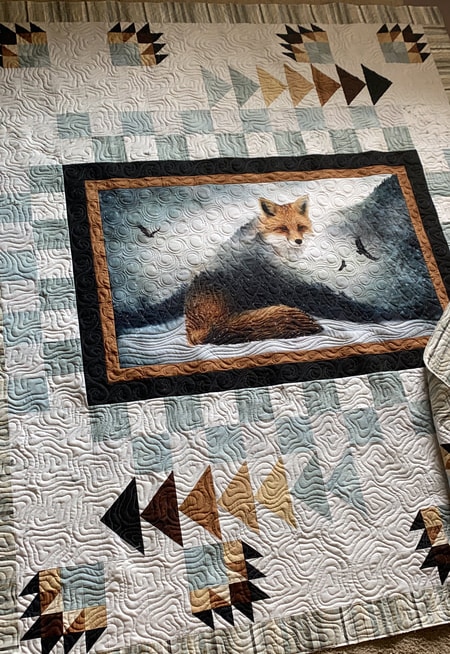
The chevron quilt is all sewn together, locked and loaded, ready for quilting! This project began with a process of sorting and choosing scraps, and auditioning them to fit my focus fabric. If you want to review that, here’s the first post.
Have I mentioned I LOVE STRAIGHT LINE QUILTING!! There are just so many applications for it, and types of quilts that it plays well with. But more on that later…
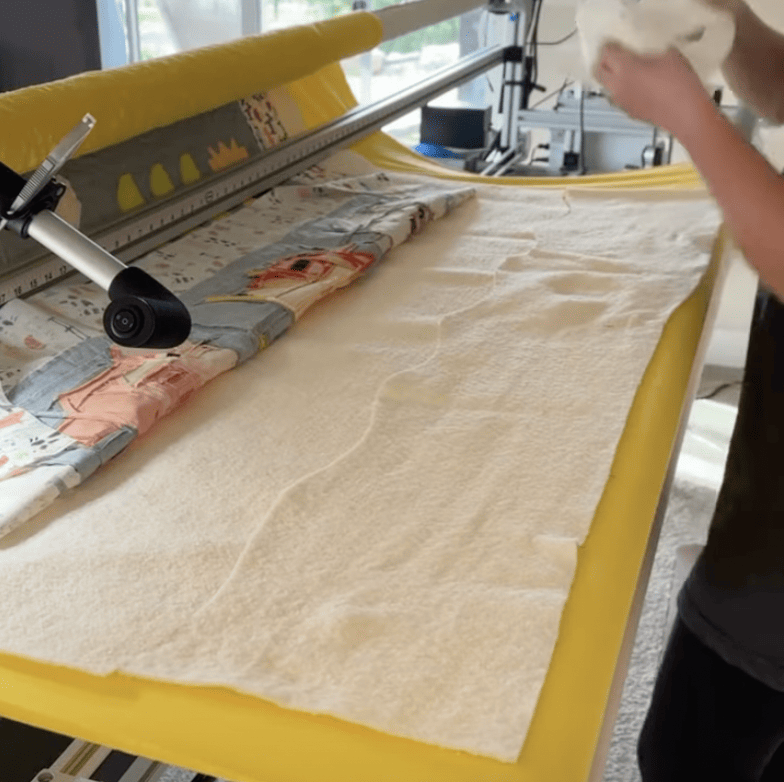
For this project, I spaced my lines at 1/2″. Lucy, my longarm, has a magnetic channel lock. That enables me to lock it into position, in this case horizontally, and sew a perfectly straight line. Lucy does NOT have any computerization so it’s up to me to space the lines accurately. I also loaded my quilt sideways so that the lines will run top to bottom in the finished quilt.
And it’s just that simple. Back and forth, all the way down the quilt. For you long-armers, a few tips I’ve learned along the way:
1) Break thread when you pause to advance. I find if I leave the needle down and roll the quilt, there is inevitably stretching and it’s really difficult to get it back into place.
2) After advancing, I look along the roller bar to visually straighten the top first. Then I snap on the channel lock with the needle up, and move my longarm across the entire width using the hopper foot to fine tune and adjust the straight seam lines.
3) If you’re floating your quilt top, you definitely need to stabilize the entire front edge. I use thin magnetic bars end to end across the top.
4) And finally, if there’s a little unevenness to take up, it’s easy to push a bit of excess into the channels between the stitching rows. And it’s better to do this a tiny bit a few times, rather than a bunch in one channel. No one will be the wiser!
So that’s Scrappy Strippy Chevron, all finished! And that reminds me, if you make one of your own, don’t forget to use the elegant hashtag #scrappystrippychevronquilt.
So…d’you want to see a few quilts I’ve used straight lines on?

If you’ve been watching Live and Unscripted you may recognize this quilt.

And how about used on a Halloween quilt? This is not necessarily a modern quilt, but the lines provide a great clean, look.


Here they’re used on more intricate piecing. One of the great things about straight line quilting is that it doesn’t compete with whatever the piecing may be. It just enhances it.
And here, very similar lines, but I’ve added lines in different orientations within the piecing. This certainly adds to the visual interest.


And speaking of visual interest, look at what simple straight lines can do! That whole secondary star design is formed simply by varying the spacing between the lines. Magical!
I hope you’re inspired to give straight lines a test drive. I predict you’ll love them!


Comments +