


This week I’m continuing to work on the scrappy chevron quilt. I’ve made variations of this quilt a number of times, and it is just so fun to see how different each one turns out! I start with only a very general idea of the look I want, choose a a background that I think will be a foundation for that look, and then start rummaging in my scrappy strip baskets. Usually I find a focus fabric that speaks to me, and then it’s just a matter of sifting through the scraps to find bits of all the colors that are in my focus piece. In last week’s blog I talked about my color selection and how I weeded out ones that I thought didn’t suit the rich jewel tones I was looking for.
So now it’s time to start putting the strips together!
I randomly sewed strips into groups at least 6.5″ wide. You can see I’ve adjusted the beginning points, knowing that I’ll be trimming on the 45 degree angle.

After sewing together one long group of strips, I used the 45 degree markings on my cutting mat to cut them into lengths. I’ve already laid out all the background pieces on my design floor. So I now cut the diamond-shaped pieces to fit the spaces. The lengths measure 4.5″, 6.5″, and 8.5″ There are both 6.5″ and 8.5″ widths. I found it all too easy to make mistakes when I tried to cut in multiples, so it was easiest to literally cut and place the scrappy pieces one at a time.

I was able to cut several diamonds out of each pieced length, so to keep the random look, I spaced the alike ones throughout the quilt, and turned some of them so that they didn’t look identical.

And basically, I just loaded a good audio book and repeated that process many times.
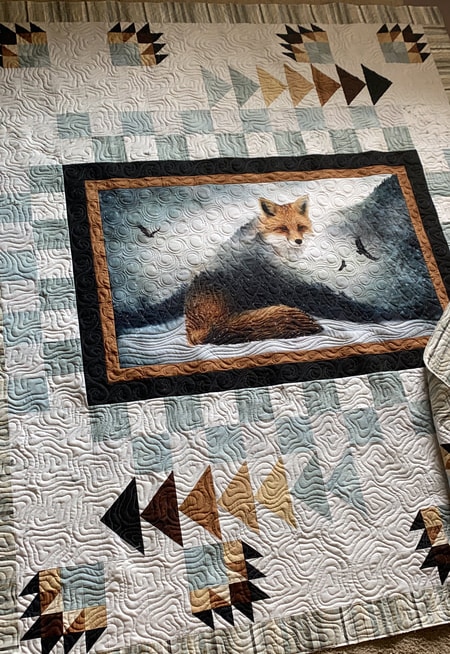
TA DA! All the pieces are cut and in place. The top and bottom edges are very rough; I left a bit of excess on them. Because of the differing widths of the rows, the points across the top won’t line up straight, so it’s best to leave some extra and then trim up after it’s all sewn together.

Next post I’ll have some tips for sewing all those bias seams together. See you then!


Comments +